How to Design Certificates in Canva
How to Design Certificates in Canva
Designing certificates no longer requires advanced graphic design skills. With Canva, anyone can create professional, print-ready certificates for schools, events, corporate training, churches, and award ceremonies.
In this guide, you’ll learn:
- How to start with a Canva certificate template
- How to design your own certificate from scratch
- How to save your certificate properly for printing
- How to send certificates digitally (the smart way)
Let’s get started.
Start Off with a Template
If you want speed and convenience, starting with a template is the easiest way to design certificates in Canva.
Step-by-step:
Log in to Canva
- Go to Canva.com and sign in.
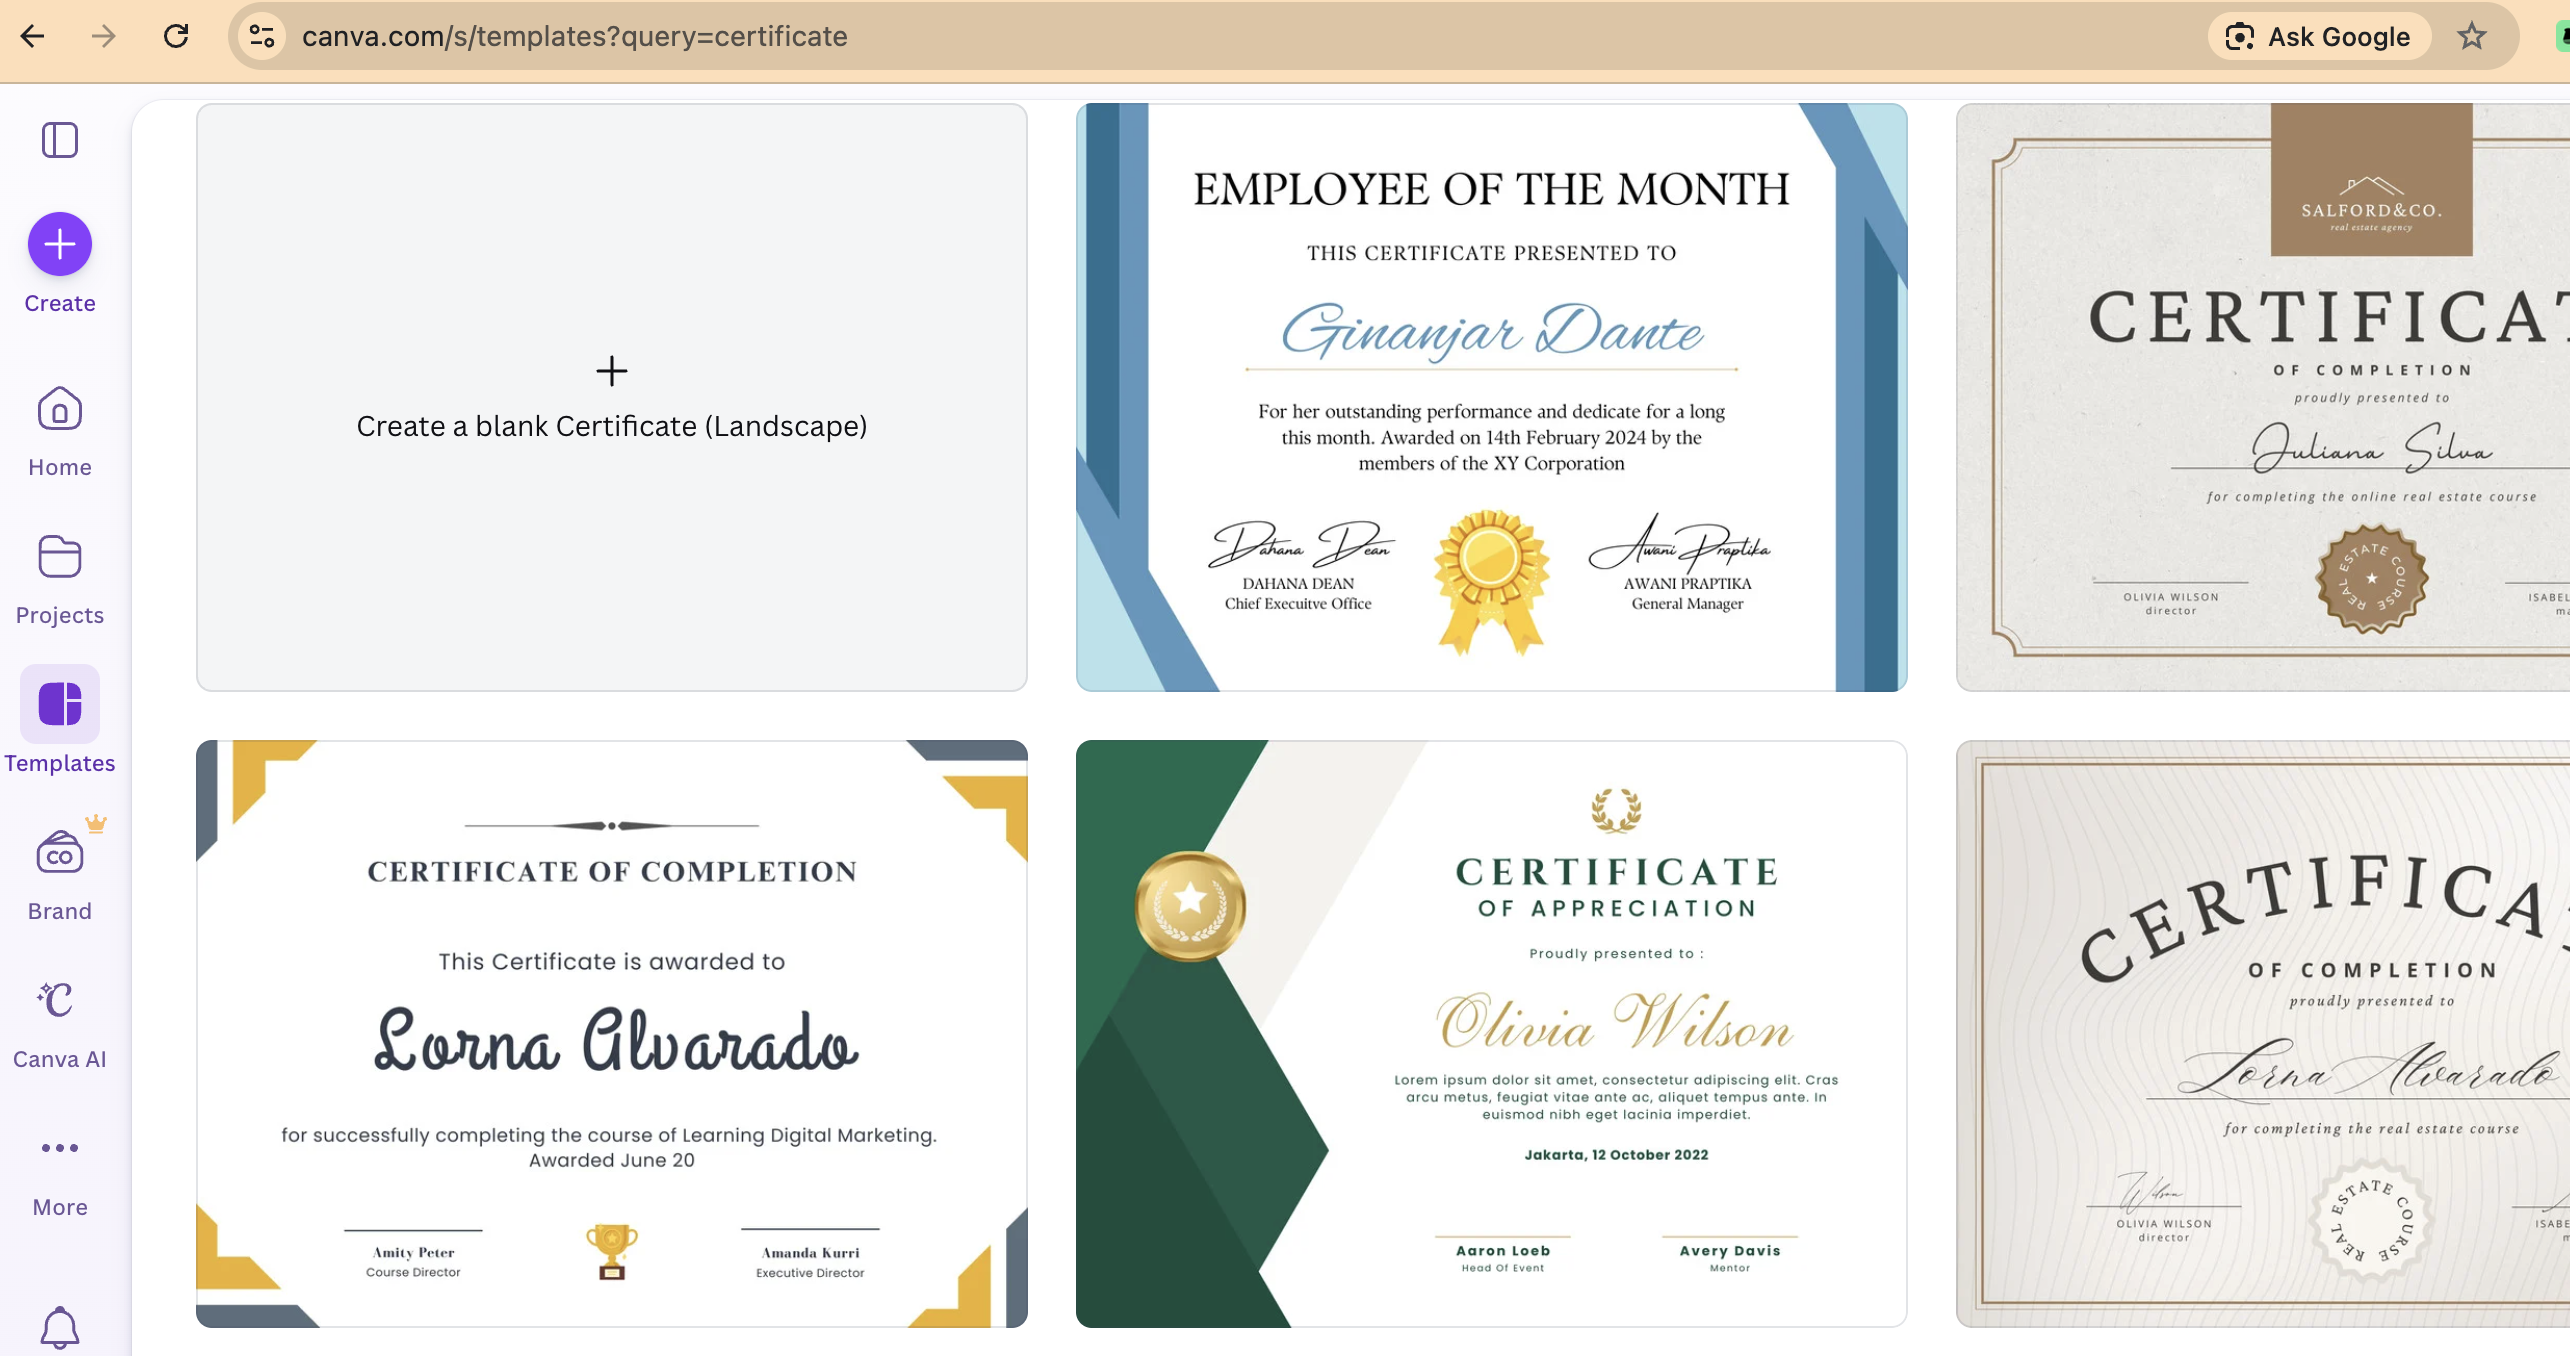
- Use the search bar and type “Certificate”.
Choose a Template
- Canva will show hundreds of free and premium certificate templates.
- Filter by style (modern, academic, corporate, minimal, colorful).
- Click on a design that matches your event or brand.
Customize the Text
Replace placeholder text with:
- Recipient name
- Award title
- Course or program name
- Date
- Signature lines
Adjust font size and spacing to ensure names stand out.
Update Colors and Branding
- Change background colors to match your brand.
- Upload your logo (via the “Uploads” tab).
- Add school seals or company branding elements.
Refine the Layout
- Adjust alignment using Canva’s built-in guides.
- Make sure margins are even.
- Ensure the recipient’s name is the most prominent element.
Starting with a template saves time while still allowing you to create a polished, professional certificate.
Make Your Own Design
If you want full creative control, you can design a certificate from scratch in Canva.
Step-by-step:
Create a Custom Design
- Click “Create a design.”
- Choose A4 (for printing) or enter custom dimensions.
- Landscape orientation is common for certificates.
Add a Background
- Choose a solid color or gradient.
- Use subtle textures for a premium look.
- Avoid busy backgrounds that reduce readability.
Insert a Border
- Go to “Elements” and search for “certificate border” or “frame.”
- Choose a clean, elegant border to frame the content.
Add Text Sections Typical certificate structure includes:
- Title (e.g., CERTIFICATE OF ACHIEVEMENT)
- Recipient name (large, bold, centered)
- Description line (e.g., “This certifies that…”)
- Program/course details
- Date
- Signature lines
Choose Professional Fonts
- Use serif fonts for formal certificates.
- Use script fonts carefully for names (ensure readability).
- Keep font combinations consistent (no more than 2–3 fonts).
Add Logos and Seals
- Upload official logos.
- Add a watermark for authenticity if needed.
- Include a digital signature image if required.
Designing from scratch gives you complete creative freedom and ensures the certificate matches your organization’s identity.
How to Save for Printing
Saving correctly is crucial to avoid blurry or low-quality prints.
Best practice for printing:
Click Share (top right).
Select Download.
Choose PDF Print (this is important).
Enable:
- Crop marks and bleed (if printing professionally)
- High-quality settings
Download the file.
Printing tips:
- Use thick paper (at least 200gsm for a premium feel).
- Test print one copy before mass printing.
- Ensure your printer settings are set to “Best Quality.”
- If using a professional print shop, ask for matte or satin finish for a premium result.
Saving as “PNG” or “JPG” is fine for digital use — but always use PDF Print for physical certificates.
Sending Certificates to Recipients Digitally
Designing the certificate is only half the job.
If you need to send certificates to 50, 200, or 1,000 recipients, manually editing each name and emailing them one by one becomes exhausting — and risky.
This is where Parrot becomes powerful.
How to Send Certificates Digitally Using Parrot
Design your certificate in Canva.
Download the master design (PNG or PDF).
Upload it into Parrot’s Imagen feature.
Connect your spreadsheet (Excel or Google Sheets) containing:
- Recipient names
- Email addresses
- Course details
- Dates
Map the fields.
Generate personalized copies automatically.
Parrot will:
- Create individual certificates for each recipient
- Convert them to high-quality PDFs
- Automatically email each certificate to the correct person
No manual editing. No copy-paste errors. No attaching the wrong certificate to the wrong recipient.
If you’re running:
- Graduation ceremonies
- Corporate training programs
- Workshops
- Conferences
- Church events
- Award ceremonies
Parrot saves hours of repetitive work and ensures professional delivery.
Final Thoughts
Canva makes designing certificates easy and accessible — whether you use a template or create your own from scratch.
But when it comes to distributing certificates at scale, automation matters.
Design beautifully in Canva. Personalize and send effortlessly with Parrot.
That combination gives you speed, accuracy, and professionalism — without the admin headache.